Build Mode: A Player-First Walkthrough
Current public patch line: 0.1.8 · sources reviewed October 5, 2026
Build Mode is one key away from Live Mode in Early Access. Use it for quick fixes, empty-lot experiments, or full renovations—but keep a labeled practice save so undo glitches do not erase a week of story progress.
- keyboardUse Tab to switch Live/Build modes; B selects the wall tool. Check remapped keys in Settings.
- homeOr click the house icon at the bottom-left of the screen.
- landscapePractice on a blank lot before editing your Town home.
Build Order That Prevents Rework
Polished houses come from sequence, not clicking speed. Placing decor before the shell is stable is the top Early Access time sink on this wiki's feedback.
- looks_oneShell first: exterior walls, roof silhouette, and where the front door faces the street.
- looks_twoTerrain second: grade the yard before trees and paths so you are not re-sculpting around furniture.
- looks_3Rooms third: flooring plus anchor pieces—counter run, bed wall, desk nook—before clutter.
- looks_4Detail last: colours, curtains and advanced placement, only after the daily walking route works.
Twenty Minutes on a Throwaway Lot
Practise on a duplicate lot: place and remove one wall, copy a chair with Ctrl+V (Mac: Cmd+V), then test the walking route in Live Mode. Read the contextual key hints before precision edits.
Think in Zones, Not Room Labels
Group sleep, cook, work, and hangout areas by how Paras actually walk. A dining zone beside the kitchen door beats a perfect floor plan nobody uses. Keep halls narrow if shared spaces get light and seating.
Build Mistakes Worth Avoiding
- warningDisabling the grid before you know room widths—free placement is powerful, not forgiving.
- warningRenovating your only furnished Town save before income is stable—label a sandbox file for experiments.
- warningTrusting undo for floors—Early Access undo can fail; manual saves beat panic Ctrl+Z.
Builder Value Audit
Commercial previews consistently point to Build Mode as one of Paralives' clearest strengths: free clutter placement, object resizing, color control, and flexible structure tools. The practical question is not whether the tools are powerful; it is whether your build stays playable after the creative pass.
Creative control
Use free placement and resizing for identity pieces first: desk corners, kitchen runs, bedside tables, and entry clutter. Do not fill every surface before testing movement.
Live Mode check
After each room, switch to Live Mode and route a Para through bed, toilet, fridge, desk, and front door. A beautiful room that blocks daily loops is not finished.
Patch-safe habit
Keep one exported or duplicated version before adding Workshop objects. Early Access bugs tend to hurt builders most because a broken object can affect an entire lot.
Patch 0.1.5 Build Safety
0.1.5 makes builder saves less fragile by improving lot recovery and expanding custom image use. Treat this as permission to experiment, not permission to stop making named saves.
Recover before you rebuild
If a lot breaks after heavy edits or Workshop objects, try the recovery path first. Rebuilding from scratch should be the last option.
Use custom images deliberately
Custom pictures are stronger for signs, frames, and themed rooms after 0.1.5. Keep a clean export before turning a whole lot into an asset test.
Patch update
Patch 0.1.8 expands the Build Mode grid to seven columns and includes visual and performance fixes. Test complex edits on a duplicate lot and recheck moved lights at night.
Four Toolbars

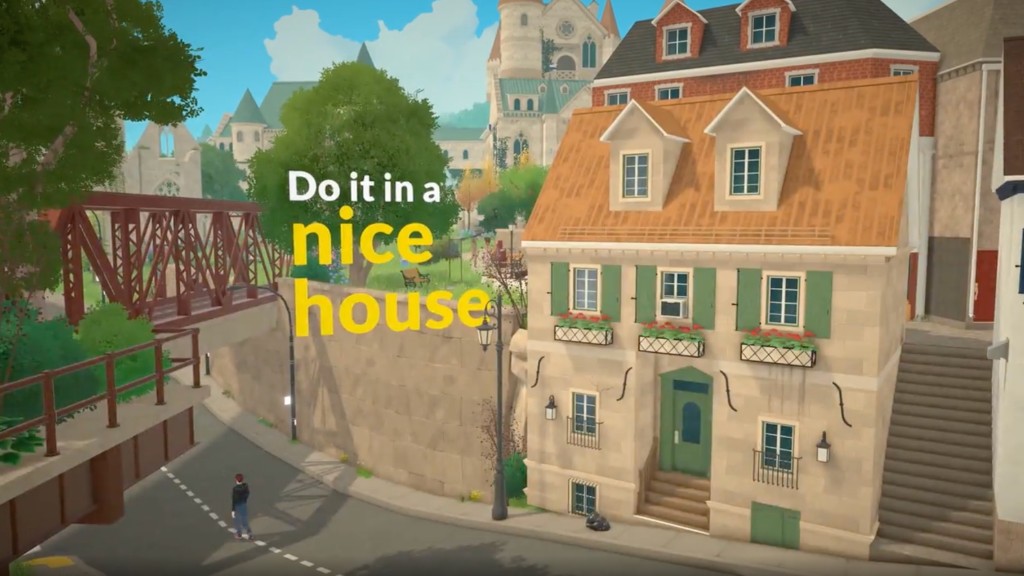
Structure Tools
Walls, doors, windows, stairs, roofs, and fences — the foundation of every build.
Terrain Tools
Sculpt terrain — raise or lower ground, paint paths, and shape hills organically.

Decor Tools
Furniture, flooring, and ceiling materials — everything to make a house feel like home.

Search Tool
Search the catalogue with Ctrl+F (Mac: Cmd+F). Copy a selected item with Ctrl+V (Mac: Cmd+V); Shift while moving is vertical movement, not a duplicate shortcut.
auto_fix_high Core Building Techniques
Wall System
Any angle and curved walls — the standout feature! Press G to toggle grid; hold Alt for precise free placement. Beginners: keep grid on until comfortable.
Doors & Windows
Door resizing and doors on curved walls are roadmap items, not safe assumptions for 0.1.8. Check the installed catalogue and placement preview; size furniture around the actual doorway.
Furniture System
Try recolouring and resizing an ordinary table or chair first. Check each object’s available handles, then test access in Live Mode after changing scale or elevation.
Stairs & Roofs
Check each staircase and roof tool’s available handles before committing the layout. Do not assume automatic roof fitting; keep stairs usable and compare the roof outline from several angles.
Pro Builder Tips
- Plan layout before turning off the grid.
- Sculpt terrain first, then place plants (avoids rework).
- Design by zones, not room-by-room.
- Grass and flowers no longer clip through walls.
Precision placement check
Use the contextual Advanced Transform controls. Save, reload, compare the object position and test access. Ctrl+Shift+Unlock is not a sourced shortcut or console command.
Common Beginner Questions
How do I delete a short wall?
Use the delete tool and click the wall, or hold Ctrl to multi-select and delete several at once.
Floor won't restore — what now?
Press Ctrl+Z to undo. Undo can be buggy in Early Access — save often and undo frequently.
How do I draw curved walls?
Select Draw Curved Wall, then click and drag — any curve angle works.
When to Build and When to Stay in Live Mode
Use the bottom-left Build button or Tab to switch modes. B selects walls rather than toggling modes. Start with a usable small home; duplicate before bulldozing your only household lot.
Week one: furnished home beats empty shell
The official beginner path is a pre-furnished Town home or a tiny layout with bed, kitchen, bath, and lights—then get a job before funding walls from scratch. Do not blow starting Paradimes on décor while hunger and rent are still new.
Blank lot or flat world for practice
Melino empty lots and the flat build world are for experiments. Duplicate your story household, label the slot Sandbox, and practice curved walls or terrain there—keep strikes and school weeks honest on your main save.
Manual save before Bulldoze or big edits
Bulldoze Lot wipes the entire lot and cannot be undone—only reloading an older save fixes it. Ctrl+Z helps for walls and furniture, but save manually before flooring marathons or terrain sculpts.
- looks_oneShell → doors/windows → stairs/roof → rooms → decor—doors before furniture so light and paths make sense.
- looks_twoBeginner tip from community guides: move and recolor furnishings before reshaping the whole shell mid-week.
- looks_3Keep grid on (G) until room widths feel natural—free placement is powerful, not forgiving.
Build Features Still on the Roadmap
Early Access Build Mode is deep—curved walls, terrain sculpt, and furnished Town lots work today—but several headline systems from the official development page are not playable yet. Do not delete a paycheck save hunting interactions that do not exist.
- Swimming pools and basement floors — listed as future free updates on paralives.com/development, not in current EA builds.
- Weather, seasons, and outdoor pool toys — same roadmap bucket; decorating a yard is fine, expecting seasons is not.
- Historical issue: 0.1.7 improved Advanced Transform placement after reload. Recheck your current build before calling it an active 0.1.2 bug; record an object’s position before and after reload.
- Week one still favors furnished Town lots over empty shells—see the live-balance section above before bulldozing your only income file.
Community Creations
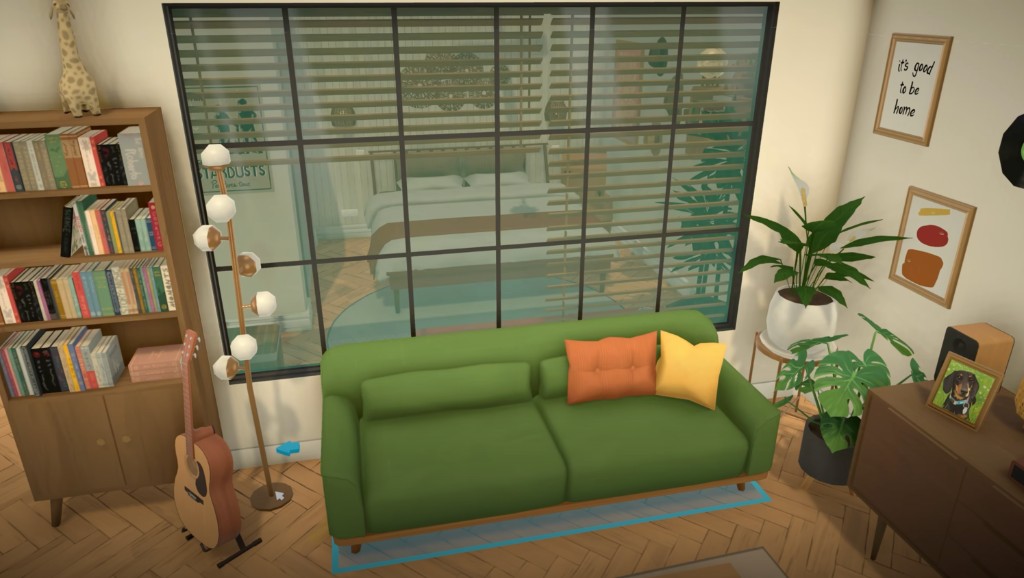
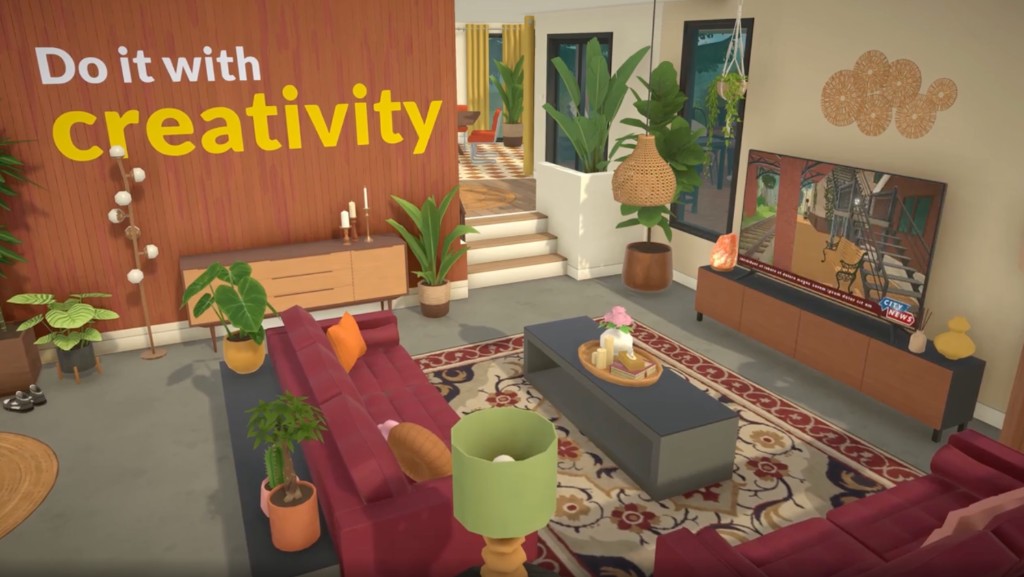
Inspiration from top Para-architects

Wider catalogue or readable thumbnails?
0.1.8 allows up to seven Build Mode columns and four in Paramaker. This layout estimate uses your measured menu width, preferred thumbnail width and gap—not the whole monitor. Change one setting, compare item names and swatches, then keep fewer columns if selection becomes slower.
Columns = floor((menu width + gap) / (thumbnail width + gap)), capped at 7 or 4. This is a web-layout estimate; the game may enforce its own minimum sizes and scaling.
Furniture shifts after reload: isolate one variable
Editorial test procedure · result not yet measured in-game
Scenario and calculation
0.1.7 reports improved Advanced Transform reload reliability. That is not a promise every placement is fixed. If a chair shifts in your save, the procedure below is our diagnostic suggestion, not a successfully reproduced case or a guaranteed repair.
- Back up the original save. Record build, platform, mods, object name and placement. Use a separate test copy; never save mod-removal changes over the only original.
- In a clean test save, place a base-game chair normally. Screenshot before saving and after reloading from the same camera angle. Test whether a Para can walk to and use it. This is the baseline, not proof about the original save.
- Repeat with the same chair using only one Advanced Transform change, such as height. Keep scaling, rotation and stacking unchanged. If only the transformed chair shifts, the evidence narrows the trigger; it still does not prove a universal bug.
How to use the result
If it fails even with normal placement, widen the investigation to the save and object rather than blaming Advanced Transform immediately. If it fails only in the original modded save, record that difference and test changes only on copies; do not declare a particular mod guilty without a reproducible comparison. Restore from backup if the test damages the layout.
What to record in your save
A useful report includes build/platform, object and mod list, normal versus transformed results, identical-angle before/after images, and whether use/routing still works. Add exact repeat steps. Keep personal files private; prepare a minimal test copy for official support if requested.
Basis for the mechanic: Paralives · 0.1.7
Use the technical-report checklistSources and scope
Source review: October 5, 2026
Placement reliability and menu readability are separate checks.
The links distinguish official announcements from community references. Procedures and calculations are our editorial suggestions, not documented cross-platform playtests. Your installed build and settings take precedence.
Report a correction with the page, build and observed result